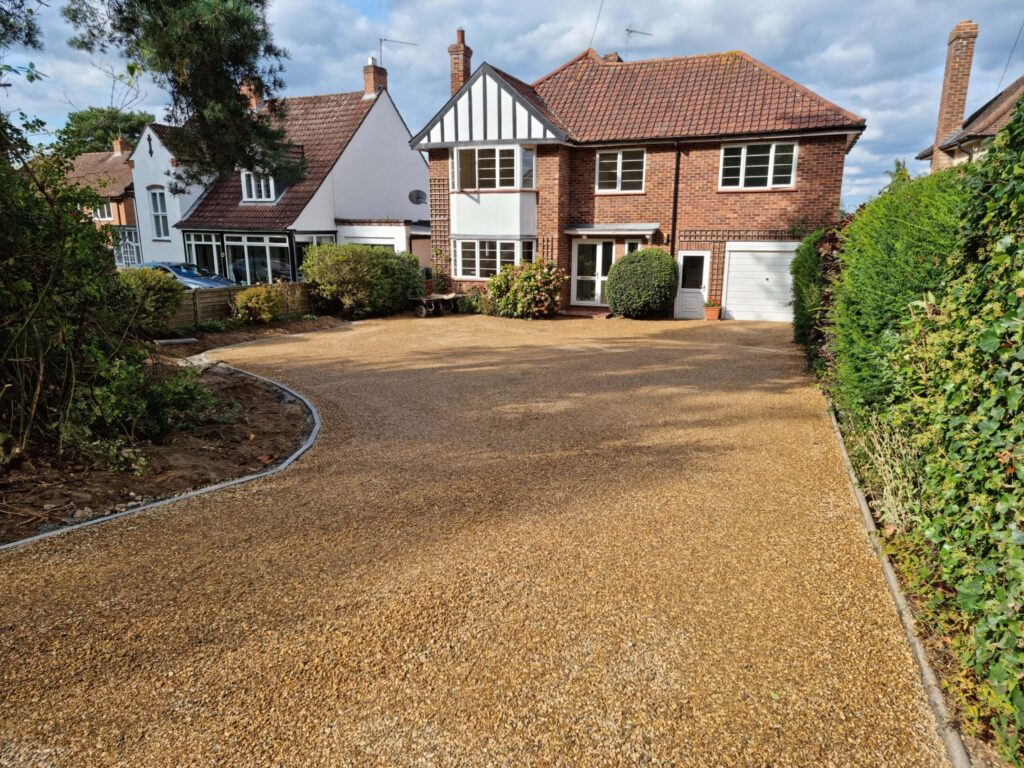
How Tar & Chip Driveways are Installed: A Step-by-Step Guide
Introduction: Tar & Chip driveways have gained popularity for their unique and attractive appearance, cost-effectiveness, and durability. If you’re considering this surfacing option for your driveway, it’s essential to understand the installation process. In this blog post, Eye Driveways & Surfacing will provide a comprehensive step-by-step guide on installing Tar & Chip driveways, giving you insight into the process and helping you make an informed decision for your property.
Step 1: Site Preparation Before any work begins, the area needs to be properly prepared:
a. Clearing: Remove any vegetation, debris, or existing driveway materials to create a clean surface for the new driveway.
b. Grading: Ensure the ground is graded correctly to allow for proper drainage and prevent water pooling.
Step 2: Base Construction A stable and well-prepared base is crucial for the longevity of your Tar & Chip driveway:
a. Excavation: Excavate the area to the required depth, accounting for the base layers and final thickness of the Tar & Chip surface.
b. Sub-Base Installation: Lay a strong sub-base layer, typically made of crushed stone or gravel, to provide stability and support for the driveway.
Step 3: Binder Coat Application The binder coat is the first layer that adheres the aggregate chips to the surface:
a. Hot Liquid Asphalt Application: Apply a heated liquid asphalt binder onto the prepared sub-base using specialised equipment, ensuring an even and consistent coat across the entire area.
b. Spreading the Aggregate Chips: Immediately after applying the binder coat, evenly distribute the aggregate chips over the surface while the asphalt is hot. The chips should be pressed into the binder coat to ensure proper adhesion.
Step 4: Compaction To achieve a sturdy and well-bonded surface, compaction is necessary:
a. Rolling: Use a heavy roller to compact the aggregate chips into the binder coat, ensuring they become embedded and secure.
b. Repeated Rolling: Repeat the rolling process multiple times to achieve optimal compaction and a smooth finish.
Step 5: Curing and Final Touches Allow sufficient time for the driveway to cure and make any necessary final adjustments:
a. Curing: Let the Tar & Chip driveway cure for a recommended period, typically 24 to 48 hours, depending on weather conditions.
b. Sweeping: Once cured, sweep the surface to remove any loose aggregate chips and debris, revealing the final appearance of your Tar & Chip driveway.
Conclusion: Installing a Tar & Chip driveway requires proper preparation, precise application, and skilled craftsmanship. Following this step-by-step guide, Eye Driveways & Surfacing ensures a high-quality installation that will result in your property’s durable, visually appealing, and long-lasting driveway. If you’re considering a Tar & Chip driveway, consult the Eye Driveways & Surfacing experts to benefit from their experience, professionalism, and commitment to delivering exceptional results. Enjoy the benefits of a beautiful, cost-effective, and low-maintenance driveway that Tar & Chip surfacing provides.
Call us on 01379 778 393 or click here to complete our contact form and see how we can help with your driveway needs.

